


Those crumbling grout lines around your pool tiles? They’re not just ugly—they’re costing you money. Every crack lets water seep behind your tiles, potentially causing thousands in damage. But here’s what pool contractors don’t want you to know: regrouting isn’t rocket science.
You can tackle this project yourself with the right tools and techniques. Or at least know exactly what quality work looks like when hiring a pro.
Here’s what we’ll cover:
- Essential tools and materials you actually need
- Step-by-step regrouting process
- Common mistakes that ruin grout jobs
- When to DIY vs call professionals
- Maintenance tips for 10+ year results
We’ve been regrouting pools across South Florida for over 20 years at Sublime Pools & Spa. Whether you DIY or need our help, we’re here to make sure your pool tiles look incredible.
Essential Tools and Materials You Actually Need
Skip the hardware store confusion. Here’s exactly what you’ll grab for a successful pool tile regrout.
The Must-Have Tools:
- Grout removal tool (manual or oscillating)
- Rubber float for spreading grout
- Large sponges (get 3-4 good ones)
- 5-gallon buckets (minimum 2)
- Safety gear: goggles, waterproof gloves, knee pads
Materials That Matter:
- Epoxy grout – Not negotiable. Cement grout dissolves in pool water
- Grout sealer (if using modified epoxy)
- Clean rags or microfiber cloths
- pH neutral cleaner
Budget Breakdown: Basic DIY setup runs $150-250. Pro-grade tools push it to $400+.
Cheap grout removal tools turn a weekend project into a two-week nightmare. Spring for the oscillating tool ($80-120). Your knees will thank you.
Step-by-Step Regrouting Process
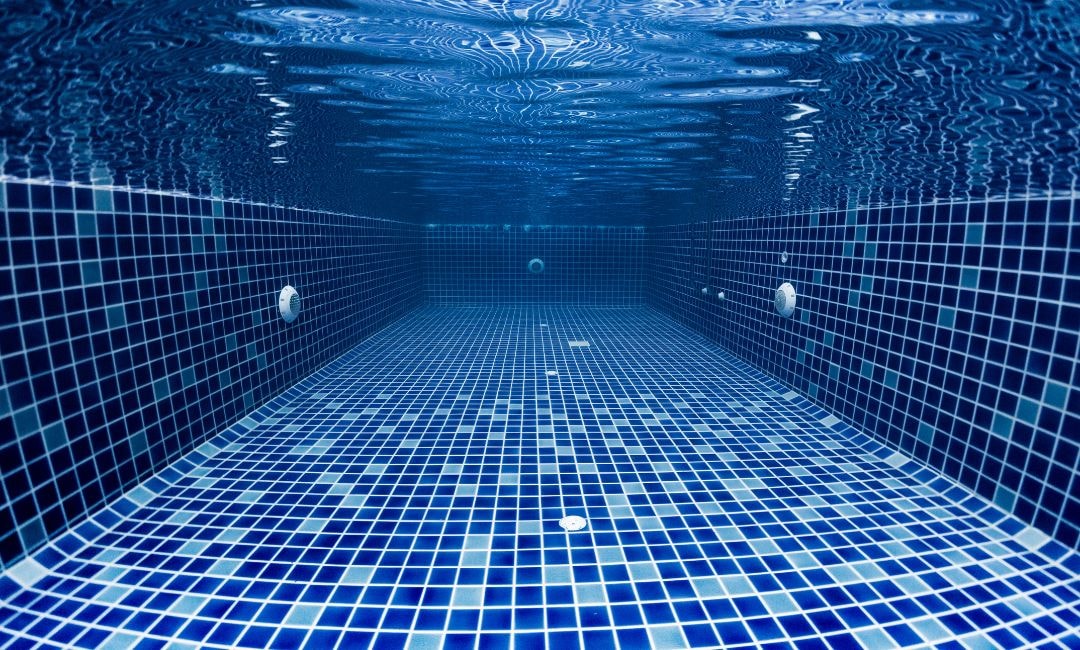
Ready to transform those tired grout lines? Let’s walk through the process that actually works.
Step 1: Remove Old Grout
Start with your pool partially drained—just below the tile line. Use your grout removal tool at a 45-degree angle. Work in 3-foot sections.
Remove grout to at least 1/8 inch depth. Anything less and your new grout won’t bond properly.
Step 2: Clean Like You Mean It
Vacuum out all debris. Then scrub tiles with pH neutral cleaner. Any leftover residue = failed grout job.
Rinse thoroughly. Let dry completely (2-4 hours minimum).
Step 3: Mix Your Epoxy Grout
Follow manufacturer ratios exactly. No eyeballing. Mix only what you’ll use in 30 minutes—epoxy grout waits for nobody.
Temperature matters: Work between 60-85°F. Too hot? Grout sets before you can spread it.
Step 4: Apply With Purpose
Pack grout diagonally across tiles using your rubber float. Press hard. Those joints need to be completely filled, not just topped off.
Work in 10 square foot sections. Bigger areas = rushed work = sloppy results.
Step 5: The Critical Clean
Wait 15-20 minutes. Using a damp sponge, wipe diagonally across tiles. Rinse the sponge constantly in clean water.
The two-bucket method: One for rinsing your sponge, one with fresh water. Switch when the rinse bucket gets cloudy.
Step 6: Final Haze Removal
After 2 hours, buff tiles with a microfiber cloth. See a stubborn haze? White vinegar on a cloth works wonders.
Curing time: 24 hours minimum before refilling your pool. 48 hours is better. Patience here prevents do-overs.
Quick reality check: This process takes most DIYers 2-3 days for an average pool. Sublime Pools & Spa typically completes the same job in one day using specialized equipment and our crew’s experience. Just something to factor into your planning.
Common Mistakes That Ruin Tile Grout Jobs
Watch out for these job-killers. We see them constantly when fixing botched DIY attempts.
- Using regular cement grout – Standard grout dissolves in swimming pool water. Period. You need epoxy grout specifically designed for underwater use. Yes, it costs 3x more. But replacing tile grout every few years? That’s the expensive choice.
- Rushing the removal process – Leaving old existing grout behind is like painting over rust. Your new grout won’t bond, and you’ll see cracks within months. Use a proper grout scraper. Take your time. Every bit of old material needs to go.
- Wrong mixing ratios – Mixing grout isn’t like making pancake batter. Too much water creates weak joints. Too little? You’ll fight rock-hard chunks that won’t spread. Follow. The. Instructions. Exactly.
- Ignoring loose tiles – Found wobbly tiles while removing grout? Fix them now. Re-grout over unstable tiles and watch your hard work crack apart in weeks. Sometimes, an acid wash years ago weakened the bond. Reset those tiles before grouting.
- Choosing non-sanded grout for wide joints – Joints wider than 1/8 inch need sanded grout. Non-sanded grout shrinks and cracks in wide spaces. Measure first, buy second.
- Poor temperature timing – Grouting your entire pool in 95°F heat? That’s a recipe for disaster. Epoxy sets too fast, leaving you with uneven, poorly packed joints. Work early morning or late afternoon.
- Skipping the clean-up steps – That hazy film on tiles isn’t “character”—it’s permanent if you don’t remove it quickly. Multiple wipe-downs aren’t overkill. They’re necessary.
- Working beyond your skill level – Mosaic tiles and older tiles require extra finesse. Complex patterns or delicate surfaces can frustrate even handy homeowners. Labor intensive? Absolutely.
That’s why Sublime Pools & Spa handles the tricky stuff daily. We’ve regrouted everything from vintage 1960s pools to modern glass tile masterpieces across South Florida.
When to DIY vs Call Professionals for Swimming Pool Services
Some jobs scream DIY. Others? You’re asking for trouble.
Your skills, available time, and pool complexity determine the right choice. One bad call here costs thousands in repairs—we’ve seen it happen too many times.
| DIY Territory | Call the Pros |
|---|---|
| Simple rectangular pools | Complex shapes or curves |
| Basic ceramic tiles | Glass, mosaic, or specialty tiles |
| Less than 100 sq ft | Over 200 sq ft tile area |
| Solid, stable tiles | Multiple loose/cracked tiles |
| Weekend warrior skills | Zero tile experience |
| Time to spare (3-5 days) | Need it done in 1 day |
| Budget under $500 | Value time over money |
| Recent grout (5-7 years) | Original 20+ year grout |
The 50/50 Zone: Medium-sized pools with standard tiles but some damage. You could DIY, but one wrong move means calling pros anyway—after wasting materials and a weekend.
Red flags that scream “hire someone”:
- Grout falling out in chunks
- Tiles popping off when touched
- Water behind tiles (squishy sounds)
- Previous DIY attempts visible
Here’s what people don’t consider: professionals carry insurance. Crack an expensive tile? That’s on us. DIY damage? That’s your wallet crying.
Sublime Pools & Spa handles pool regrouting throughout South Florida with a simple promise—we fix it right the first time. Our crew tackles 3-4 pools weekly, turning disaster zones into showpieces.
Maintenance Tips for 10+ Year Results
Your fresh grout job looks incredible. Keep it that way with maintenance that actually works—not internet myths.
The First 30 Days Matter Most
Let grout fully cure before going crazy with chemicals. That means maintaining proper water level without shocking for two weeks minimum. Your grout needs time to reach maximum strength.
Weekly Maintenance Routine
- Brush the waterline – Use a soft nylon brush weekly along the tile wall. Prevents calcium buildup that eats grout
- Check pH religiously – Keep it between 7.2-7.6. Acidic water will wear down even the best epoxy grout
- Clean tile edges – Where tiles meet coping, debris loves to sit and cause staining
Monthly Deep Clean
Skip the harsh chemicals. Mix dawn soap with warm water. Let it soak for 10 minutes, then brush gently. Rinse thoroughly.
Pro move: Seal your grout every 2 years if you used modified epoxy. Pure epoxy? You’re good without sealing.
What Slowly Kills Grout
- Calcium buildup – Looks harmless, but it expands and contracts, creating micro-cracks
- Aggressive brushing – Metal brushes or pumice stones leave the grout scraped and vulnerable
- Ignoring small issues – One loose tile becomes five. One crack spreads. Fix problems immediately
Location-Specific Tips
South Florida pools face unique challenges. Salt air accelerates wear near the ocean. Afternoon sun on west-facing walls creates extreme temperature swings.
Adjust your maintenance based on your pool’s location. Shaded areas need more brushing (algae loves low light). Sun-blasted sections need more frequent inspection for cracks.
When to Replace vs Repair
Small cracks? Spot repair works fine. But when 20% of your grout looks questionable, it’s replacement time. Trying to patch extensive damage is like putting band-aids on rust. The rest will fail soon anyway.
The Secret Nobody Mentions
Attractive grout lines aren’t just about the grout—they’re about water chemistry. Perfect grout with terrible chemistry fails faster than average grout with balanced water.
Invest in a good test kit. Use it.
Grout installed correctly and maintained properly should last 10-15 years easily. We see pools with our work from 2014 still looking fresh. The difference? Owners who follow these steps religiously.
Ready to Keep Your Pool Looking Fresh With Sublime Pools & Spa?
Regrouting pool tiles doesn’t have to be overwhelming. With the right tools, techniques, and patience, you can transform tired grout lines into professional-looking results. Whether you DIY or hire pros, now you know what quality work looks like.
Key takeaways:
- Use epoxy grout—never standard cement grout
- Remove old grout completely (1/8 inch minimum)
- Work in small sections during moderate temperatures
- Clean multiple times to prevent permanent haze
- Maintain proper water chemistry for longevity
At Sublime Pools & Spa, we’ve handled every regrouting challenge South Florida can throw at us. From simple touch-ups to complete tile restorations, our 20+ years of experience mean your pool gets fixed right the first time. Ready to skip the hassle? Let’s talk about your pool.
FAQs
Can I regrout my pool tiles?
Yes, if you have basic DIY skills and the right tools. Simple pools with stable tiles work best for DIY. Complex designs, extensive damage, or time constraints? Call professionals to avoid costly mistakes.
Can you put new grout over old grout on tile?
New grout won’t bond to old grout—it’ll crack and fall out within months. Always remove existing grout to at least 1/8 inch depth for proper adhesion.
Is there special grout for pool tile?
You need epoxy grout designed for underwater use. Regular cement grout dissolves in pool water. Epoxy grout costs more but lasts 10+ years versus 1-2 years for standard grout.
How do I make my pool tile look new again?
Start with a thorough cleaning using pH-neutral cleaners. Remove calcium deposits with a pumice stone. Then regrout if needed. For best results, consider professional acid washing followed by fresh grout.


